Changing text to a shape
The laser cutter sadly can’t recognize text fields with text. With the current settings as seen down here the program will just ignore the text. Don’t be bummed out, there’s a way to print text but you do need to follow a few steps. You should start out by selecting your text.

Right click the text and select create outlines. It’s also possible to holed Shift+CTRL+O.

And there’s the outline! The outline is currently set to be black inside but you can change the inside to white to make it more clear for you that it gets cut away.

Making sure your project is the right size
For us at the makerspace it’s important to know and have the correct size for your project. The two ways to make sure your project is cut in the right size is by filling in the correct dimensions on the cutting ticket you’ll get at the makerspace, and my making sure the dimensions are correct in your file. To see the dimensions of your file select the entire shape and open the properties window.

There’s a high chance that the window doesn’t display the size in mm (millimeters) but in inches, pt or px. To change the view you must first click on the edit panel, then the preference button and click the units button.

Lastly select the unit in millimeters and press okay.

Setting up the correct cutting lines:
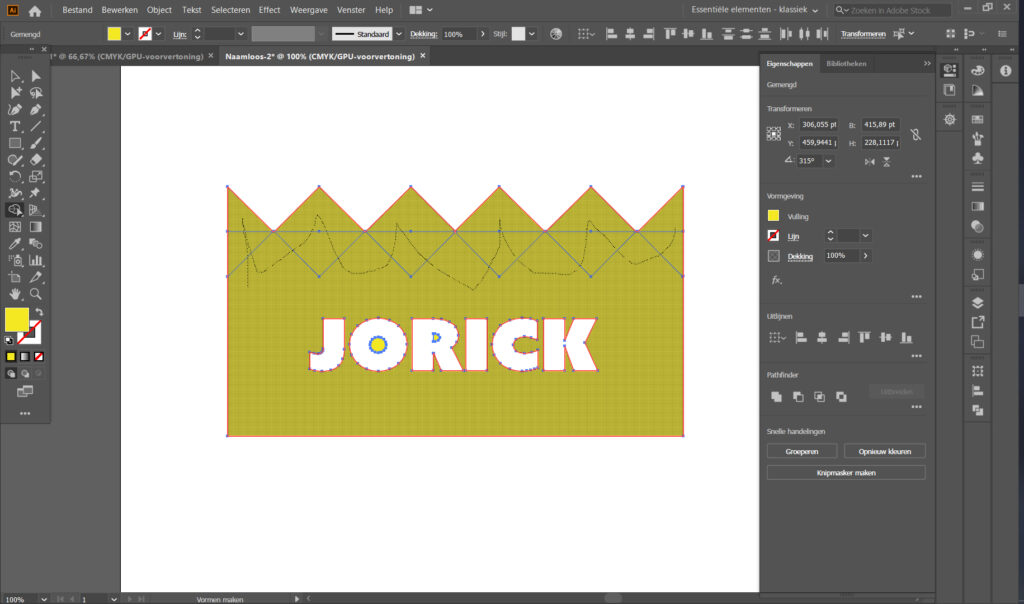
We’ll start with a design. You’d probably expect the cutter to just trace the letters and the crown right?

Wrong because this is what the cutter sees:

The lasercutter ignores the infill of a file and will only see the lines (and shapes) that form your design. The current design will cut a crown that will look like this:

Luckily, there are two easy ways to solve this problem.
Solution 1:
Firstly select your design (it will show all the shapes), then select the Shape Builder Tool (or use the shortcut Shift + M):

Then select all the shapes you want to combine:
And tadaa, it’s one shape.

Solution 2:
Select all the shapes you want to combine:
Then press the combine all selected button in the pathfinder:

Et voila, it’s one shape.
Correct color instructions
The lasercutter can’t just cut through wood but can also engrave shapes into the wood. For this the makerspace assistant will need a file with the correct line colors corresponding to the action that has to be done to the shape.
The four options we have are
- Black: Cut this line
- Green: fill this shape lightly
- Blue: fill this shape medium
- Red: Engrave this line
An example of someone people would hand in is the image you can see here. The student wants to cut a playing board for a card game. The black line around the board needs to be cut, the dark grey circles are meant to snugly fit the health tokens, the light grey fields need to be lightly engraved to show the deck and discard pile and these words need to be engraved into these fields.

This is what the lasercutter will see and the cutter will just cut all the black lines which will just result is a playing field with a few circular and two rectangular holes. For this reason we should give every line the right color.

A correct file would looks something like this the black line will be cut, the circles with blue borders will be filled in medium, the one with the green borders will be filled in lightly and the red lines will be engraved (but won’t get cut out entirely):
